7 November, 2014
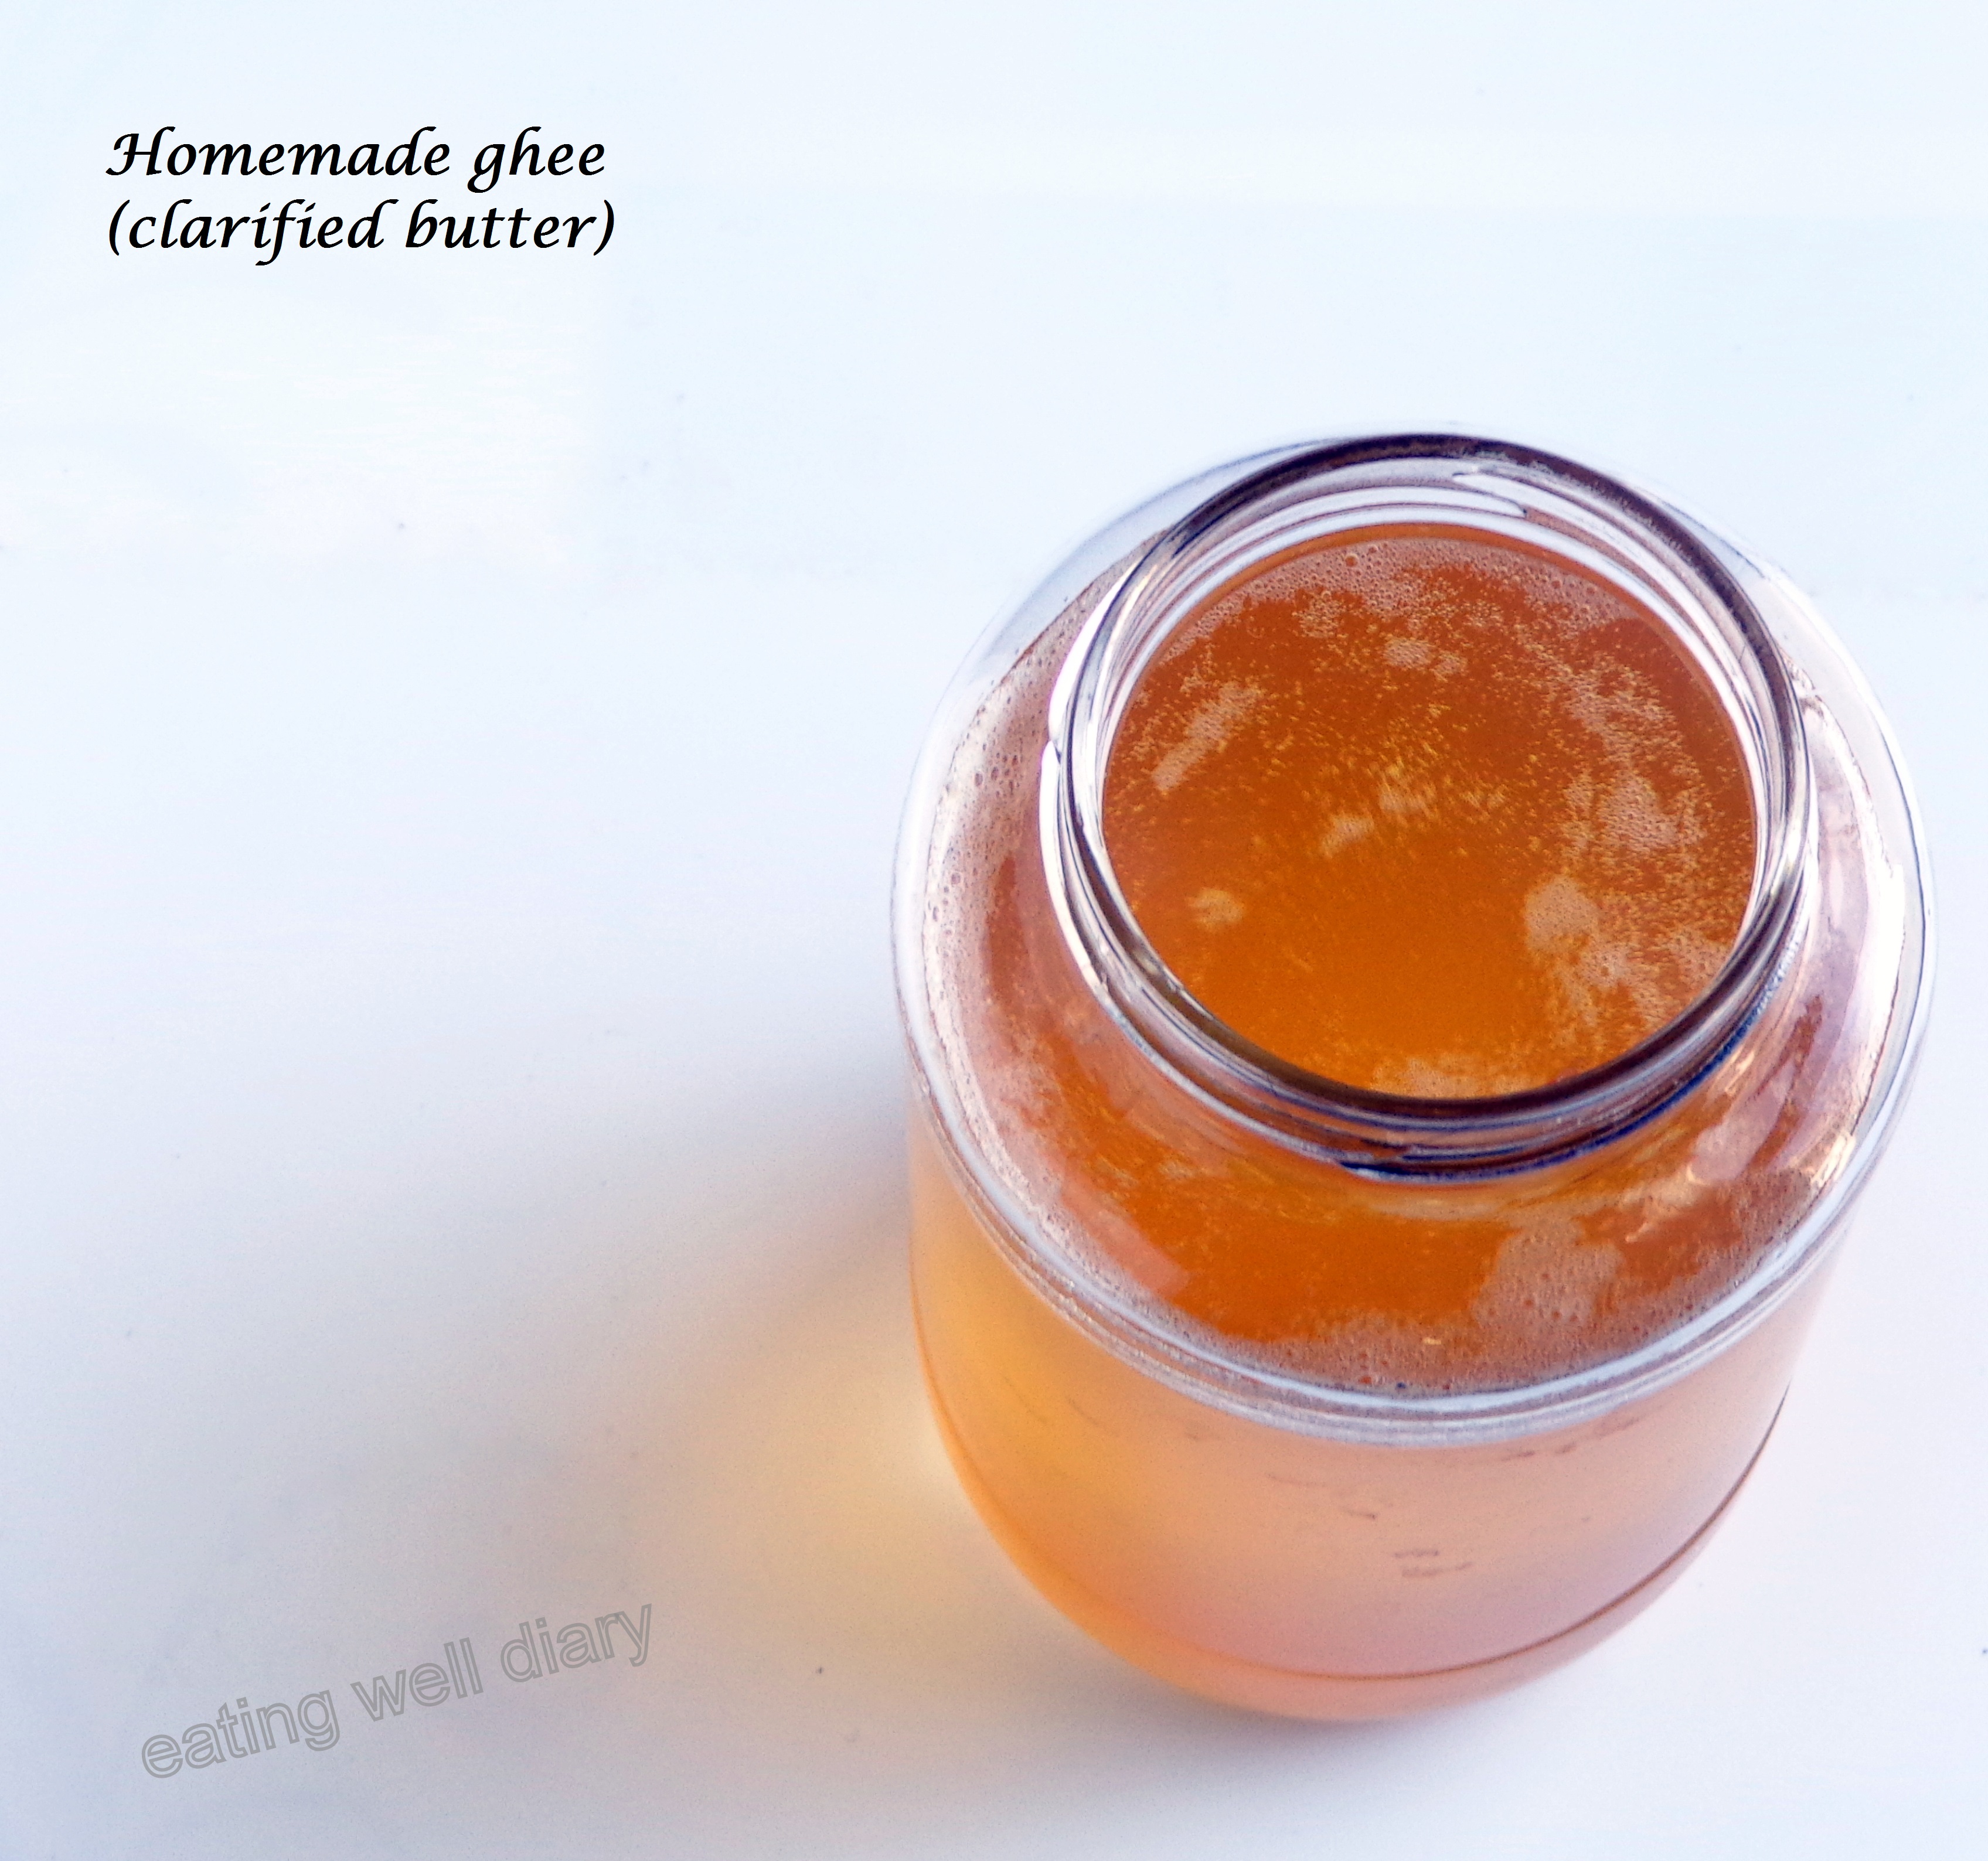
Homemade clarified butter (ghee)
Angie @ the Novice Gardener, this is for you! At last week’s Fiesta Friday party, she brought up this topic of making ghee. I thought I would post this basic recipe for making ghee at home, something that most Indian households do on a regular basis. Sharing this aromatic, heavenly liquid at this week’s Fiesta party too, co-hosted by Nancy and Loretta.
Ghee or clarified butter has been used for thousands of years and is highly regarded in Ayurveda for its medicinal properties. This is a good article on the ayurvedic benefits. Another article that is useful is here. It also has a longer shelf life than butter since it has zero water in it.
I use ghee to fry spices in some dishes, because of its high smoke point. Traditionally, in south-Indian meals ghee is melted and served with rice as the first thing to eat. It is said that it coats the stomach lining and helps in digestion and absorption of nutrients.
Making ghee at home is very simple and is highly economical. Yes! Even if I start with organic butter, the resultant ghee is half as expensive as what is available in Indian supermarkets. And the taste of fresh ghee is WAY better than those. If you are looking to buy ghee for taste-testing, I recommend the Guru Nanak brand.

Here, I have used 6 sticks of butter which yields about 515 g of ghee.
Other Ingredients
for flavor (optional) : 1. pinch of cumin seeds, one small dried red chilly, one curry leaf.
for quenching: 1/2 tsp. of yogurt
Method:
Heat butter in a heavy bottomed pan. When it has completely melted, it froths up as the water starts to escape. At this point, add the spices.

As the water continues to escape, froth dies down slowly. At this point keep monitoring and stirring frequently.

Stir up the solids from the bottom. They look white. Reduce heat to low and monitor closely.

As the froth dies down gradually, keep stirring and looking at the color of the solids. The moment they turn light brown, it is done.
Add the yogurt to “quench” the process, a term used by chemists. It means stopping a reaction by deactivating one of the starting materials. There is a hissing noise at this point. Take it off the heat. Allow solids which are completely brown, to settle.

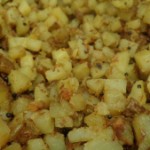
After it cools, decant the clear liquid into a glass jar. The remaining solids can be combined with some brown sugar and consumed. It is tasty too!

Store at room temperature. Stays fresh for 6-8 weeks.


23 thoughts on : Homemade clarified butter (ghee)
Wow fresh ghee… hmmm just yummm
yes, I love the smell too!
Pingback: Chicken Green Tomato Jalfrezi| Fiesta Friday #41 | The Novice Gardener
This is just great, Apsara! Thank you so much! Guess what? Butter on sale this week, perfect timing! Never knew about adding spices and yogurt before, now I’m thinking of possibilities with the spices. Cinnamon or star anise would be great, I think. What do you think?
It’s my pleasure, Angie. I’ve never thought about adding other spices, but that sounds like a great idea. Maybe cardamom or clove would be good too.
Ooh… yum! I’ve never attempted ghee here. Thanks for the details!
Back home, mom makes a sort of rice dish with the browned ghee solids.
You’re welcome, Anjana. Yes, I have also seen the brown solids mixed with rice, served to kids especially. Tasty!
Nice idea! Reminded me of the days when y mom used to make ghee from meegada! I remember the black portion left out was called Godaavari in our area!! I will try this method too.
thank you, Swetha.
My mom used to make ghee at home from scratch, meaning, first making butter from cream that was collected from milk for about a month and then making ghee from the butter! Used to take about half a day for the whole process! But that ghee was so wonderfully fragrant, the store-bought stuff doesnt even come close 🙂 The left-over brown solids taste very good in baked good too.
Wow, your mom must be a wonderful cook. I see where you get your patience too, it’s in your genes!
Haha, no one who knows me would call me patient 😀 But food is a different matter 🙂
This is a fabulous tutorial, Apsara! I really appreciate the step by step photos. I would never had guessed that something so delicious could be so simple to make at home. Thanks you, so much, for sharing your recipe and technique with the Fiesta Friday group. 🙂
My pleasure, Nancy. Glad that folks at FF are enjoying it. 🙂
Welcome to FIesta Friday Apsara. I figured somebody would come up with a recipe for dear Angie, and I’m so glad that you did. I made ghee just once, but I didn’t know much about the addition of whole spices and yogurt. Will have to give it another try. I like using ghee in chapatis, but then everybody said it was real bad for you, so I stopped. Just last week I sat in on a lecture that on Ayurveda and how ghee was used for its medicinal properties, so I guess it’s not so bad after all.
Yes, isn’t it interesting how food concepts are changing again and we’re getting back to traditional ideas? 🙂
Reblogged this on Chef Ceaser.
Very interesting!
Hi Apsara, just saw this post. Never knew about adding spices and yoghurt. Any specific reason you add the spices? Whenever I have drumstick leaves(Moringa) on hand, I add it at the frothing stage and then remove the leaves when crisp. Kids love eating the leaves and it also wonderfully flavors the ghee. I am sure you must have tried it:)
oh just saw that you add the spices for flavor. will surely try. thx
Thanks, Kripa. I have never used moringa leaves. My mother adds the curry leaves, that’s where I got the idea. These days I filter off the solids after the ghee is made, in order to eliminate all the milk protein.
Hi Apsara, I tried your method. Thx. I noticed that the ghee doesnt solidfy too much if I use yoghurt. Infact I like this consistency. Not sure if that is because of the “quenching” process you are talking about.
Thank you for the feed back, Kripa. The solids that separate out are from the residual protein in the butter. Maybe the butter you used had lesser amount of it?